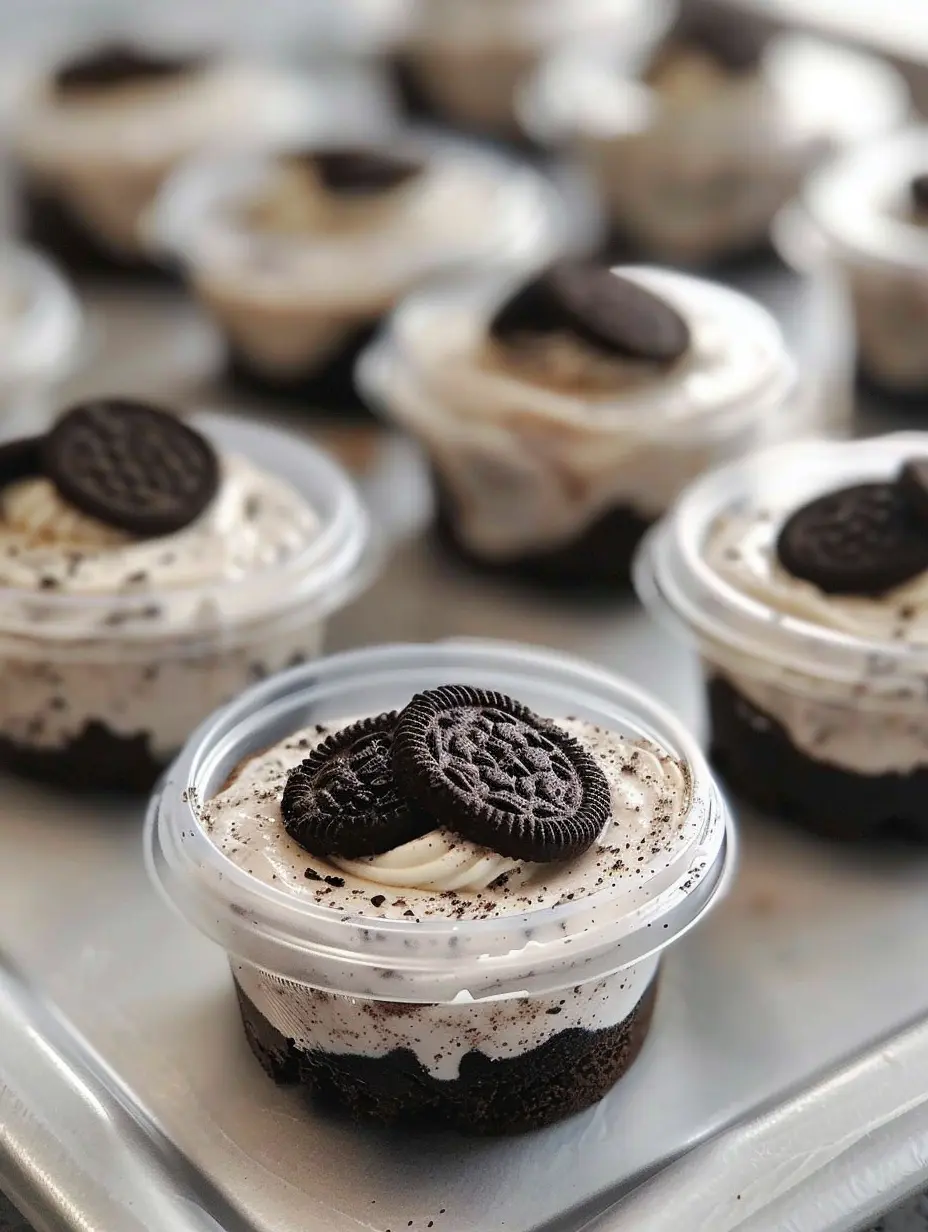
Looking for a dessert that combines creamy indulgence with irresistible crunch in a perfectly portable package? These No-Bake Cookies & Cream Dessert Cups are the ultimate quick dessert idea. They are the quintessential easy layered dessert that requires no oven time, minimal effort, and delivers maximum flavor. Featuring a classic chocolate cookie crust, a lusciously creamy vanilla filling studded with more cookie bits, and a charming finish with a whole mini cookie, these dessert cups are always a crowd-pleaser.
They are perfect for parties, potlucks, or a simple sweet treat to have waiting in the fridge. This recipe demonstrates that a show-stopping dessert can be uncomplicated, with layers of texture and flavor that feel delightfully decadent.
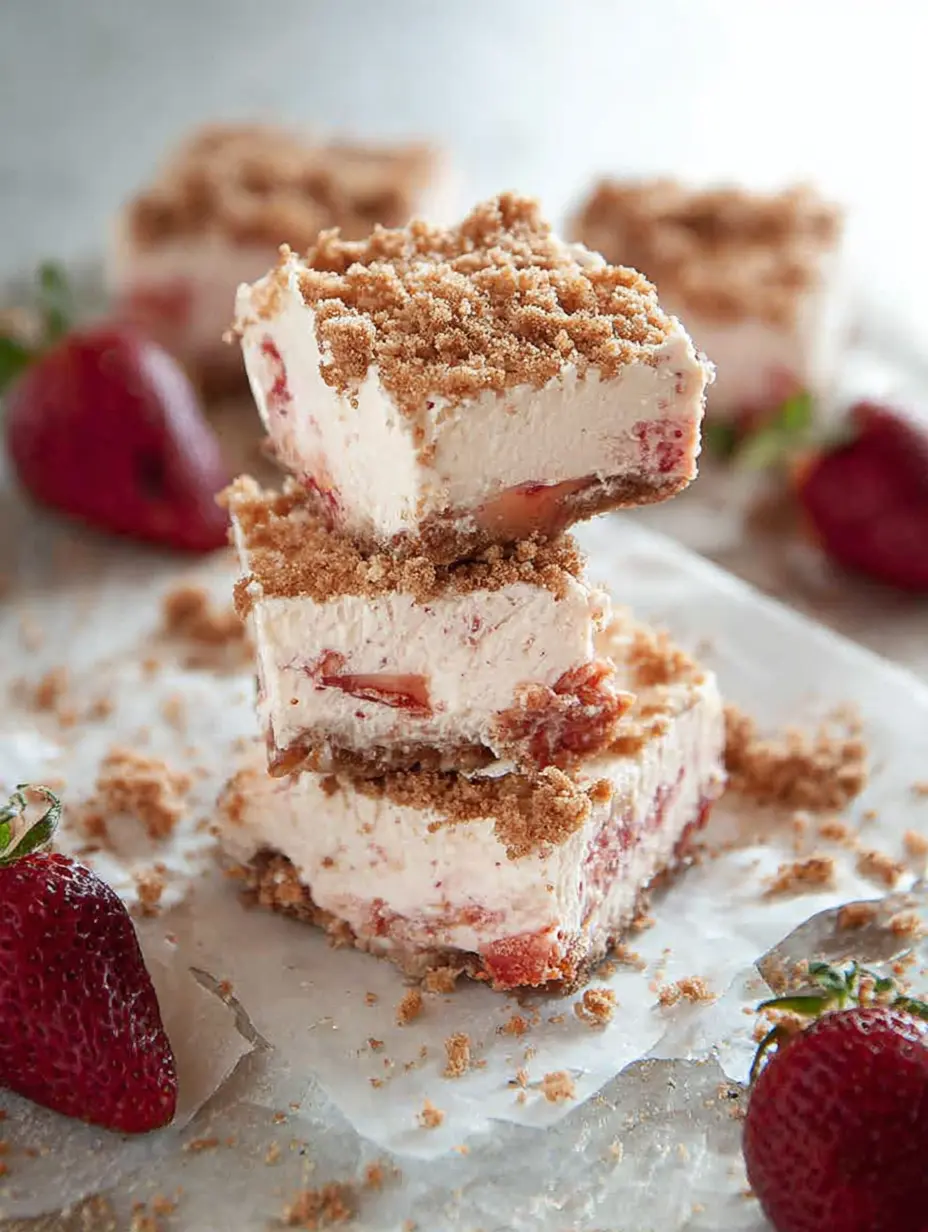
If you love the combination of creamy and crunchy in a no-bake format, you must also try our Strawberry Cheesecake Brownies, which offer a similar ease with a fruity twist.
Why These Creamy Oreo Dessert Cups Are a Must-Make
The brilliance of this recipe lies in its simplicity and flawless execution of a beloved flavor profile: cookies and cream. It’s a no bake sweet treat that anyone can master, from novice bakers to seasoned pros. The preparation is straightforward, involving creating a simple crumb base, whipping up a light and fluffy filling, and assembling.
The individual servings make them incredibly convenient for serving a crowd, and their visual appeal is undeniable. They are rich but not overly heavy, satisfying that sweet tooth with every creamy, crunchy bite.
The use of common ingredients like cream cheese, sugar, and heavy cream ensures a silky-smooth texture that perfectly complements the chocolate cookies. This recipe is a fantastic introduction to no-bake desserts, requiring only basic kitchen tools like mixing bowls and an electric mixer. The final product looks professional and tastes incredible.
Essential Tools for Assembly
You won’t need any specialized equipment. An electric hand mixer or stand mixer is crucial for getting the filling light and airy. A set of 2-ounce disposable plastic cups with lids is ideal for the classic presentation and easy storage. A piping bag fitted with a large star or round tip makes filling the cups neat and beautiful, but you can simply use a spoon or a zip-top bag with the corner snipped off.
A small cookie scoop or tablespoon helps portion the crumb base evenly.
Step-by-Step Guide to Perfect Simple Dessert Cups
Follow these clear instructions for flawless dessert cups every time. The process is broken down into three main components: the crust, the filling, and the assembly.
Creating the Chocolate Cookie Crust
The foundation of these cups is a firm, buttery crumb base. In a small bowl, combine 2 cups of finely crushed chocolate sandwich cookie crumbs with ¼ cup of melted unsalted butter. Mix until the crumbs are uniformly moistened and resemble wet sand. The butter acts as the binding agent, allowing the crust to hold its shape when pressed.
Portion this mixture into 28 clean, 2-ounce plastic cups. Use a small scoop for consistency. Then, use the bottom of one of the empty cups to firmly press the crumbs into an even, compact layer at the bottom. This creates a solid base for the creamy filling.
Making the Luxurious Cookies and Cream Filling
This filling is the star. In a large mixing bowl, combine 8 ounces of room-temperature cream cheese and ¾ cup of granulated sugar. Using an electric hand mixer on medium speed, cream them together until completely smooth, with no lumps. This step is vital for a silky texture. Next, add 1 ½ cups of cold heavy cream and 2 teaspoons of high-quality vanilla extract.
Increase the mixer speed to medium-high and whip the mixture until it becomes thick, light, and holds soft peaks. This will take several minutes; be patient as it transforms into a fluffy cloud. Finally, gently fold in ½ cup of additional crushed chocolate sandwich cookie crumbs with a spatula to distribute them evenly without deflating the mixture.
This creamy technique is similar to what creates the luxurious texture in our classic Chocolate Lava Cake, though that recipe is baked for a warm, gooey center.
Assembling and Chilling for Best Results
Transfer the fluffy filling to a piping bag for a clean, professional look. Pipe the mixture into each prepared cup, filling them until they are about ¾ full. Top each cup with a single mini chocolate sandwich cookie or a sprinkle of the remaining cookie crumbs for extra crunch. Immediately seal each cup with its plastic lid.
The chilling stage is non-negotiable. Refrigerate the cups for at least 2 hours, or until the filling is firmly set. This allows the flavors to meld and the texture to become perfect. They can be stored in the refrigerator for 2-3 days, making them an excellent make-ahead dessert.
Nutritional Information & Dietary Considerations
While these are an indulgent treat, it’s helpful to understand their nutritional profile per serving. The following table provides an approximate breakdown based on the ingredients used. For a lighter, protein-packed breakfast or snack option that still satisfies a sweet craving, explore our Cottage Cheese Pancakes.
| Nutrient | Amount per Serving |
|---|---|
| Calories | Approx. 180 kcal |
| Total Fat | 12g |
| Saturated Fat | 7g |
| Trans Fat | 0g |
| Cholesterol | 30mg |
| Sodium | 95mg |
| Total Carbohydrates | 18g |
| Dietary Fiber | 0.5g |
| Sugars | 13g |
| Protein | 2g |
Note: Values are estimates. For specific dietary needs, consider using reduced-fat cream cheese or a sugar alternative, though this may slightly alter the final texture.
Expert Tips for the Best No-Bake Dessert
To ensure your dessert cups turn out perfectly, keep these pro tips in mind. Always use full-fat, brick-style cream cheese and ensure it is at room temperature to avoid a lumpy filling. Chill your mixing bowl and beaters before whipping the heavy cream and cream cheese mixture; this helps it whip up faster and hold more volume.
When crushing the cookies for the filling, leave some slightly larger pieces for delightful bursts of texture. If you cannot find mini cookies for the topping, simply break standard-sized cookies into quarters. For a fun variation, try using different flavors of sandwich cookies, like mint or peanut butter.
Frequently Asked Questions
Can I make these dessert cups ahead of time?
Absolutely! These are an ideal make-ahead dessert. Assemble the cups, seal them with lids, and store them in the refrigerator for up to 3 days. The crust may soften slightly over time but will remain delicious.
Can I use a different type of cookie?
Yes, you can experiment. Golden sandwich cookies, gingersnaps, or graham crackers would all create wonderful crusts and fillings. Adjust the sugar in the filling if using a very sweet cookie base.
Do I have to use individual cups?
Not at all. You can assemble this dessert in a 9×9-inch baking dish. Simply press all the crust mixture into the bottom of the dish, spread the filling evenly over the top, and garnish with whole cookies or crumbs. Slice into squares to serve.
How do I store leftovers?
Keep the dessert cups refrigerated in a sealed container or with their lids on. They are best enjoyed within 3 days. They are not suitable for freezing, as the creamy filling may separate and become grainy upon thawing.
The Final Scoop on This Creamy Delight
These No-Bake Cookies & Cream Dessert Cups are the epitome of a simple dessert cup that delivers impressive results. They are the perfect quick dessert idea for busy weeks, last-minute guests, or when you simply crave something sweet without the fuss of baking. The combination of the crunchy chocolate base, the cloud-like vanilla and cookie cream, and the final cookie garnish creates a harmonious dessert experience in every bite.
By following this guide, you can create a treat that looks store-bought but tastes infinitely better because it’s made with love. Gather your ingredients and get ready to make a dessert that will have everyone asking for the recipe.
Recipe
Print
Cookies & Cream Dessert Cups
- Total Time: 30 min (plus chilling)
- Yield: 28 servings 1x
Description
Easy, no-bake individual dessert cups with a chocolate cookie crust and a fluffy vanilla cream cheese filling loaded with cookie bits.
Ingredients
2 cups crushed chocolate sandwich cookies
¼ cup butter (melted)
8 oz cream cheese (room temperature)
¾ cup granulated sugar
2 tsp vanilla extract
1 ½ cups heavy cream
½ cup crushed chocolate sandwich cookies
28 mini chocolate sandwich cookies
Instructions
- In a small bowl, combine 2 cups chocolate sandwich cookie crumbs and melted butter.
- Portion the crumbs into 28 2-ounce plastic cups using a small cookie scoop or spoon. Use one of the plastic cups to press the crumbs into the bottom of the cup.
- In another mixing bowl, combine room temperature cream cheese and granulated sugar. Cream together with an electric hand mixer on medium speed until combined and smooth.
- Add in heavy cream and vanilla extract. Whip on medium-high speed until light and fluffy.
- Fold in ½ cup chocolate sandwich cookie crumbs.
- Fill a piping bag with the cookies and cream mixture. Pipe the mixture into the cups until about 3/4 full.
- Top each dessert cup with a mini chocolate sandwich cookie or additional cookie crumbs.
- Seal the cups with a lid and chill. The cups can be served immediately or stored in the refrigerator for 2-3 days.
Notes
- Ensure cream cheese is at room temperature for a smooth filling.
- Chill the mixing bowl and beaters before whipping for best results.
- Dessert cups can be made up to 3 days in advance.
- Prep Time: 30 min
- Cook Time: 0 min
- Category: Main Course
- Method: Baked
- Cuisine: American
Nutrition
- Serving Size: 1 dessert cup
- Calories: 180
- Sugar: 13
- Sodium: 95
- Fat: 12
- Saturated Fat: 7
- Trans Fat: 0
- Carbohydrates: 18
- Fiber: 0.5
- Protein: 2
- Cholesterol: 30