This irresistible Sticky Honey Lemon Chicken brings bright citrus flavors together with sweet honey and savory chicken in one unforgettable dish.
Perfect for busy weeknights but impressive enough for guests, this meal comes together in just 40 minutes with simple ingredients.
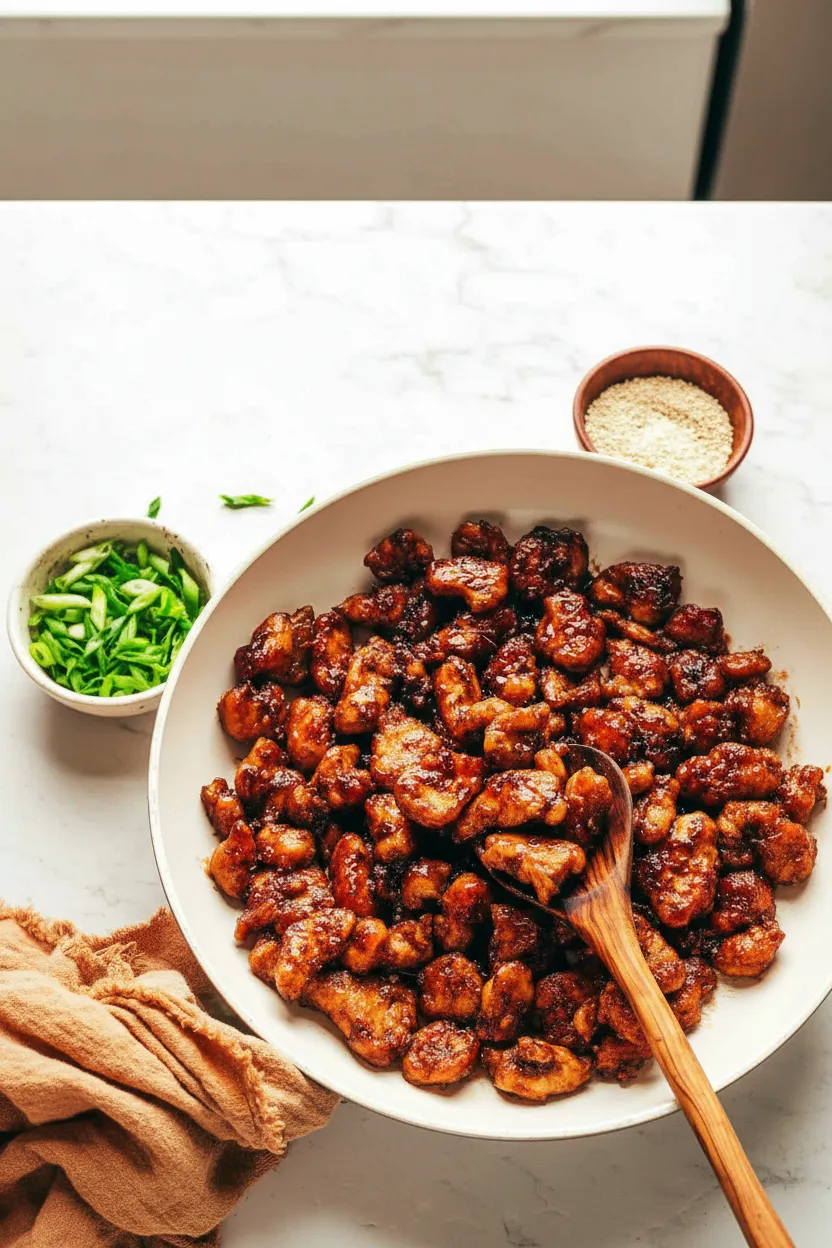
The crispy chicken pieces get coated in a glossy sauce that perfectly balances tangy and sweet notes.
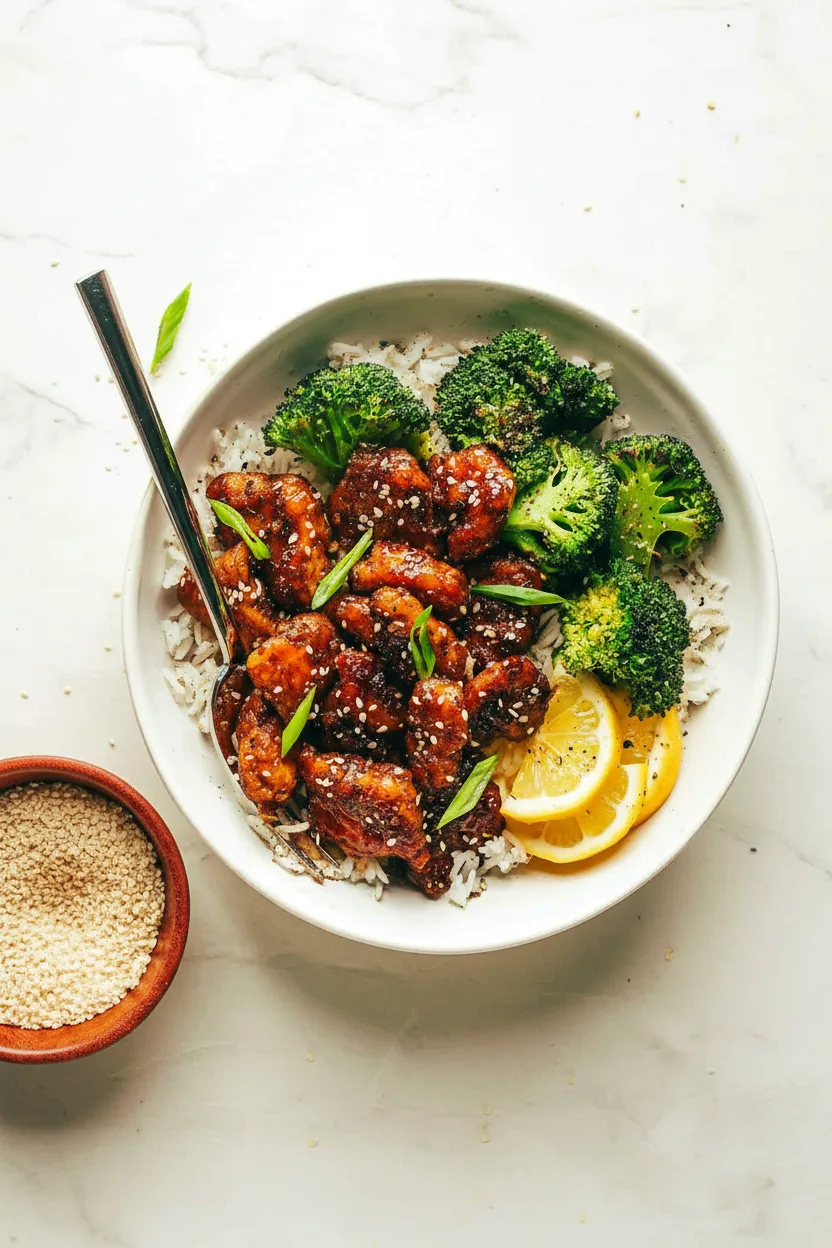
What makes this recipe special is its clever cooking method. The chicken gets double-coated for maximum crispiness before getting tossed in that signature sticky glaze. Whether you serve it over rice or noodles, every bite delivers satisfying textures and flavors that both kids and adults will adore.
Why You’ll Love This Sticky Honey Lemon Chicken
Several key factors make this recipe stand out from other chicken dishes. First, the straightforward process ensures success even for beginner cooks. Second, the sauce strikes an ideal balance between sweet honey, zesty lemon, and savory elements.
Family-Friendly Flavor Profile
The combination of honey and lemon creates universal appeal while the light chili kick adds dimension without overwhelming sensitive palates. For pickier eaters, you can reduce or omit the chili flakes completely.
Quick Cooking Time
From start to finish, this meal takes just 40 minutes – less time than pizza delivery. The efficient cooking process means you can enjoy restaurant-quality food at home with minimal effort.
Recipe
Print
Sticky Honey Lemon Chicken
- Total Time: 40 min
- Yield: 3 servings 1x
Description
Crispy chicken pieces coated in sweet and tangy sticky honey lemon sauce, ready in 40 minutes.
Ingredients
- 1 tablespoon low-sodium soy sauce
- 1 egg
- 1/2 cup cornstarch (60 g)
- 1 pound boneless skinless chicken breasts or thighs, cut into thin bite-sized pieces (450 g)
- 3 tablespoons olive oil, divided (45 ml)
- 1 tablespoon grated or minced fresh ginger
- 2 large garlic cloves, grated or minced
- Garnishes: thinly-sliced scallions and toasted sesame seeds
- 1 large lemon, zested and juiced (1/4 cup juice)
- 2 tablespoons honey (30 ml)
- 2 tablespoons low-sodium soy sauce (30 ml)
- 1 ½ tablespoons lemon juice (22 ml)
- ¼ teaspoon crushed red chili flakes
Instructions
- Whisk all sauce ingredients (lemon zest, lemon juice, honey, soy sauce, lemon juice, chili flakes) in a small bowl until combined.
- In a medium bowl, whisk soy sauce and egg until smooth. Add chicken, toss to coat.
- Place cornstarch in a separate bowl. Working in batches, coat chicken pieces in cornstarch.
- Heat 2 tablespoons oil in large nonstick pan over medium-high heat. Cook chicken in batches for 3-5 minutes per side until golden and cooked through. Transfer to plate.
- Add remaining 1 tablespoon oil to pan with garlic and ginger. Sauté 30-60 seconds until fragrant.
- Pour sauce into pan, add cooked chicken. Cook 2-3 minutes, stirring frequently, until sauce thickens and coats chicken.
- Serve immediately garnished with scallions and sesame seeds.
Notes
- Don’t overcrowd pan when frying chicken – cook in batches if necessary
- Fresh lemon juice provides best flavor but bottled works in a pinch
- Serve immediately for maximum crispiness
- Prep Time: 20 min
- Cook Time: 20 min
- Category: Main Course
- Method: Stovetop
- Cuisine: Asian-Inspired
Nutrition
- Serving Size: 1 serving (approx 1.5 cups)
- Calories: 480
- Sugar: 18g
- Sodium: 820mg
- Fat: 18g
- Saturated Fat: 3g
- Unsaturated Fat: 12g
- Trans Fat: 0g
- Carbohydrates: 47g
- Fiber: 1g
- Protein: 32g
- Cholesterol: 135mg
Ingredients and Substitutions
This recipe uses widely-available ingredients that can be adapted based on dietary needs or pantry availability:
Base Components
- Chicken: Both breasts and thighs work well. Thighs stay juicier while breasts offer leaner protein
- Crispy Coating: Cornstarch creates a delicate crunch without heavy breading
Sauce and Seasonings
- Lemon: Fresh zest and juice provide the brightest flavor, though bottled lemon juice works in a pinch
- Honey: For strict vegetarians, maple syrup makes an excellent substitute
- Low-sodium soy sauce: Coconut aminos work for soy-free diets while maintaining umami depth

How to Make Sticky Honey Lemon Chicken
Follow these clear steps to achieve perfect results:
Step 1: Prepare the Sauce
Whisk together honey, soy sauce, lemon juice and zest, rice seasoning, and chili flakes. This ensures even flavor distribution when it hits the hot pan later.
Step 2: Coat the Chicken
Create an egg-soy mixture to help the cornstarch adhere. Working in small batches prevents sticking and promotes even cooking for those golden crispy edges.
Step 3: Cook Chicken
Use a large nonstick pan with enough oil to create that essential crispy texture. Don’t overcrowd the pan – cook in batches if necessary. Transfer the chicken temporarily while you build the sauce.
Step 4: Create Sticky Glaze
Saute aromatics like ginger and garlic until fragrant but not burned. Add your premixed sauce and let it simmer briefly to thicken before reintroducing the chicken. Toss thoroughly so every piece gets glossy coating.
Pro Tips for Success
- Maintain High Heat: Essential for achieving crispy chicken rather than steamed texture
- Prep Everything First: Mise en place prevents rushed moments during cooking
- Use Tongs: For easy flipping and tossing without breaking the chicken pieces
Flavor Variations
While delicious as written, this recipe adapts beautifully to different flavor preferences:
Spicy Version
Double the chili flakes or add a teaspoon of chili garlic paste to the sauce for extra kick. Garnish with fresh sliced jalapeños for color and heat.
Herb-Forward Adaptation
Add a tablespoon of freshly chopped thyme or rosemary to the sauce mixture. Top with lemon thyme sprigs for a garden-fresh presentation.
Orange Twist
Replace lemon with orange zest and juice for sweeter citrus notes. A dash of cinnamon in the sauce adds warm complexity.
Serving Suggestions
While fantastic on its own, these pairings make it a complete meal:
- Fluffy white rice soaks up extra sauce beautifully
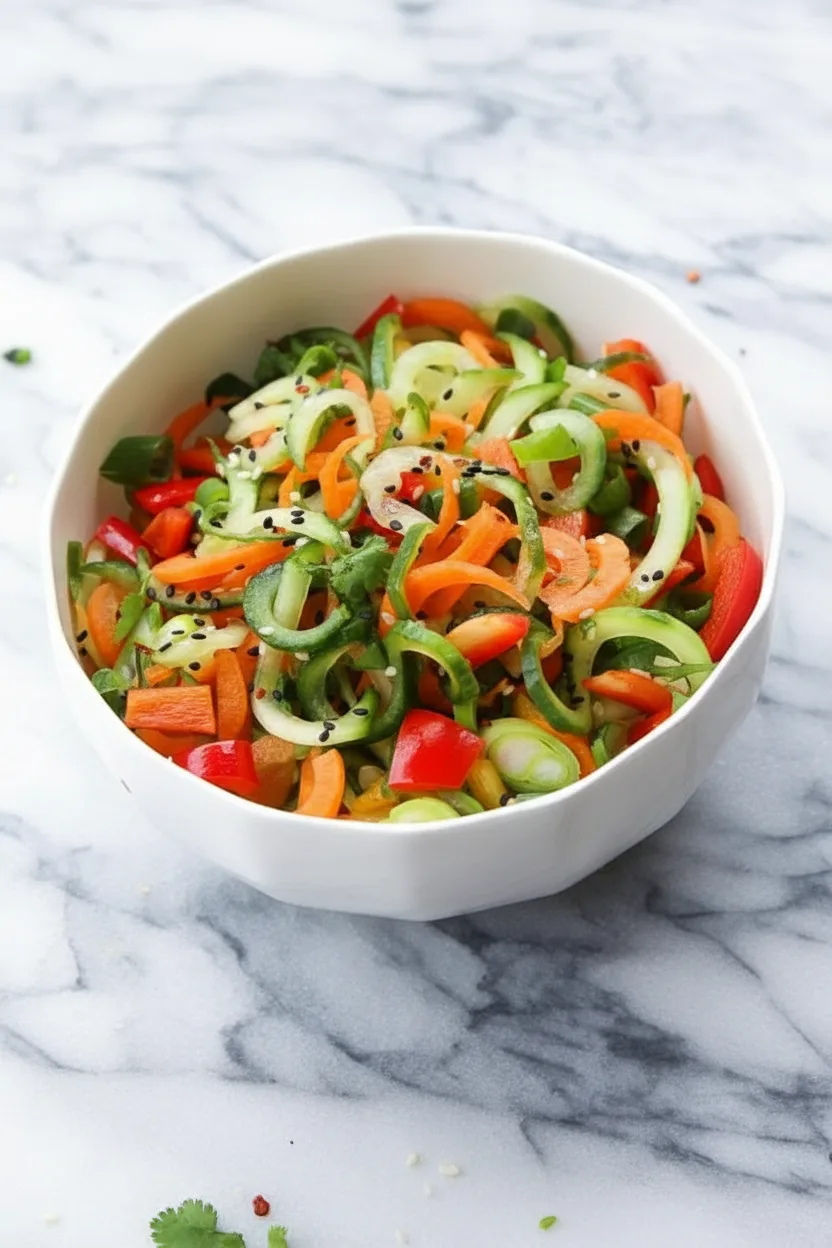
- Steamed broccoli adds color and nutrition
- Your favorite cheesy side dish balances the bright flavors
Storage and Freezing Instructions
Store leftovers in airtight containers for 3-4 days. Reheat in a skillet over medium-low heat to maintain crispiness. Avoid microwaving as it makes the coating soggy.
For freezing, prepare the crispy chicken through step 3. Flash-freeze pieces on a baking sheet before transferring to freezer bags. When ready, thaw overnight and complete steps 4-5 with fresh sauce for best texture.
Nutrition Facts per Serving
| Calories | Fat | Carbs | Protein | Fiber | Sugar | Sodium |
|---|---|---|---|---|---|---|
| 480 | 18g | 47g | 32g | 1g | 18g | 820mg |
FAQs About Sticky Honey Lemon Chicken
Can I make this recipe gluten-free?
Absolutely! Substitute the soy sauce with tamari or coconut aminos. Ensure your cornstarch is certified gluten-free, as some brands process it in facilities with wheat.
How can I make the sauce thicker?
Create a cornstarch slurry by mixing 1 teaspoon cornstarch with 1 tablespoon cold water. Stir this into simmering sauce until it reaches your desired consistency.
Can I bake the chicken instead?
While not as crispy, the coating works when baked. Arrange coated pieces on a rack over a baking sheet at 425°F (220°C) for 15-18 minutes. Perfect if you prefer oven-baked chicken methods.
Final Thoughts
This Sticky Honey Lemon Chicken recipe delivers restaurant-quality flavors with home kitchen convenience.
The magic happens in the sauce – that perfect sweet-tart balance that clings to every crispy chicken piece. Whether cooking for family dinners or casual entertaining, this versatile dish consistently satisfies.
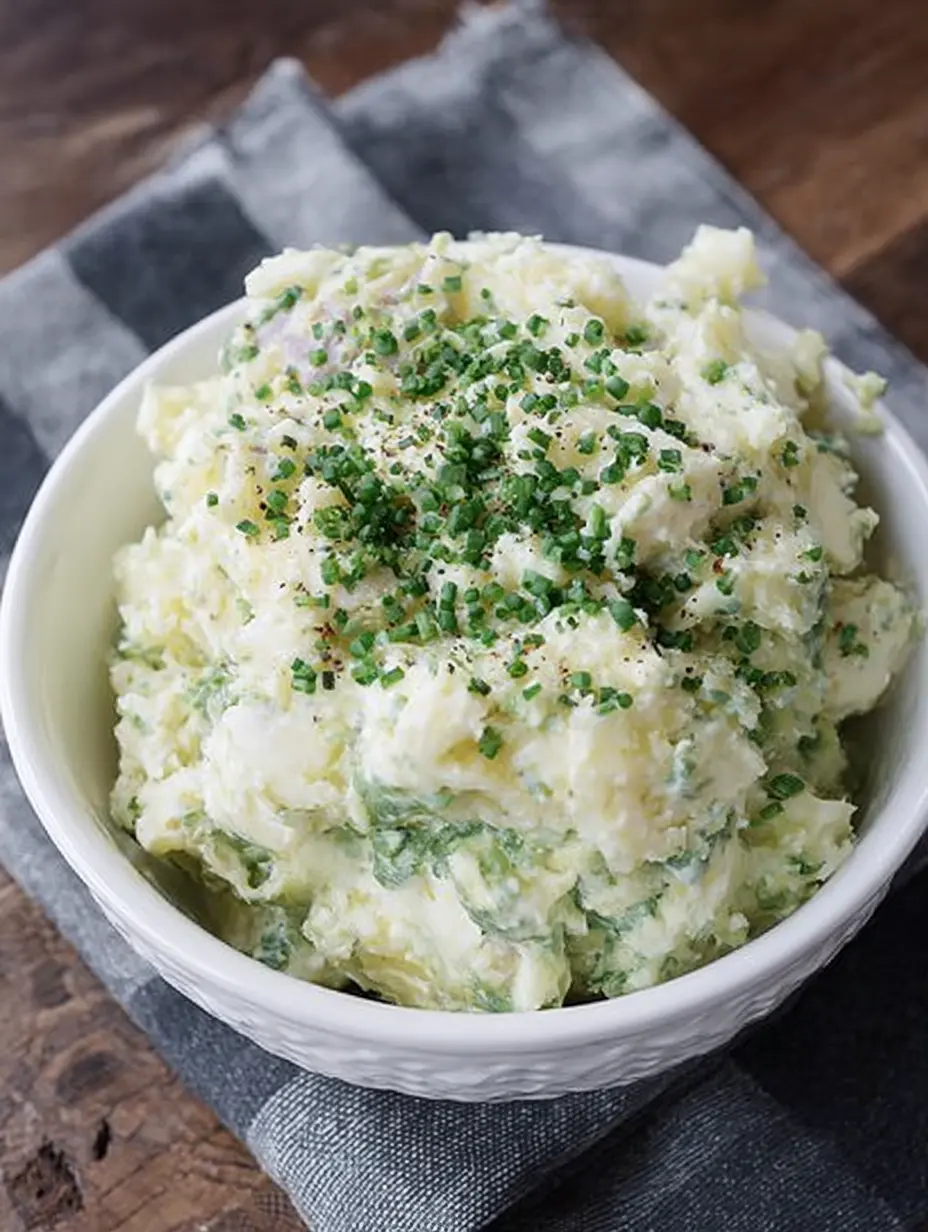
For hearty comfort food options, check out our savory hamburger steak recipe that pairs wonderfully with mashed potatoes.
Ultimately, this sticky chicken deserves a spot in your regular dinner rotation for its unbeatable combination of speed, flavor, and crowd-pleasing appeal.