These delightful cookies and cream dessert cups combine crunchy chocolate cookie layers with creamy filling for a bite-sized treat. Perfect for parties, potlucks, or after-school snacks, this no-bake recipe comes together in just minutes.
With their playful presentation and irresistible flavor, these individual cups will become your new favorite way to enjoy classic cookies and cream flavors.
Why You’ll Love This Cookie Cups Recipe
Creating these desserts couldn’t be simpler. Even better, you don’t need any special equipment or baking skills.
The combination of textures satisfies every craving – crunchy cookie base meets velvety smooth filling topped with another crispy cookie. This recipe makes enough for a crowd, but you’ll want to make extra because they disappear quickly!
Perfect for Any Occasion
These portable treats work beautifully for bake sales, birthday celebrations, or family gatherings. Their individual portions make serving effortless. For those who love comforting desserts, these cups deliver satisfaction in every spoonful without requiring hours in the kitchen.
Recipe
Print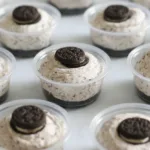
Cookies and Cream Dessert Cups
- Total Time: 30 minutes
- Yield: 28 servings 1x
Description
No-bake individual Cookie cups with creamy filling and crispy toppings
Ingredients
- 2 cups crushed chocolate sandwich cookies (180 g)
- ¼ cup butter, melted (57 g)
- 8 oz cream cheese, room temperature (226 g)
- ¾ cup granulated sugar (150 g)
- 2 tsp vanilla extract
- 1 ½ cups heavy cream (355 ml)
- ½ cup crushed chocolate sandwich cookies (45 g)
- 28 mini chocolate sandwich cookies
Instructions
- In a small bowl, combine 2 cups chocolate sandwich cookie crumbs and melted butter
- Portion the crumbs into 28 2-ounce plastic cups using a small cookie scoop or spoon
- Use one of the plastic cups to press the crumbs into the bottom of the cup
- In another mixing bowl, combine room temperature cream cheese and granulated sugar
- Cream together with an electric hand mixer on medium speed until combined and smooth
- Add in heavy whipping cream and vanilla extract
- Whip on medium-high speed until light and fluffy
- Fold in ½ cup chocolate sandwich cookie crumbs
- Fill a piping bag with the cookies and cream mixture
- Pipe the mixture into the cups until about 3/4 full
- Top each dessert cup with a mini chocolate sandwich cookie or additional cookie crumbs
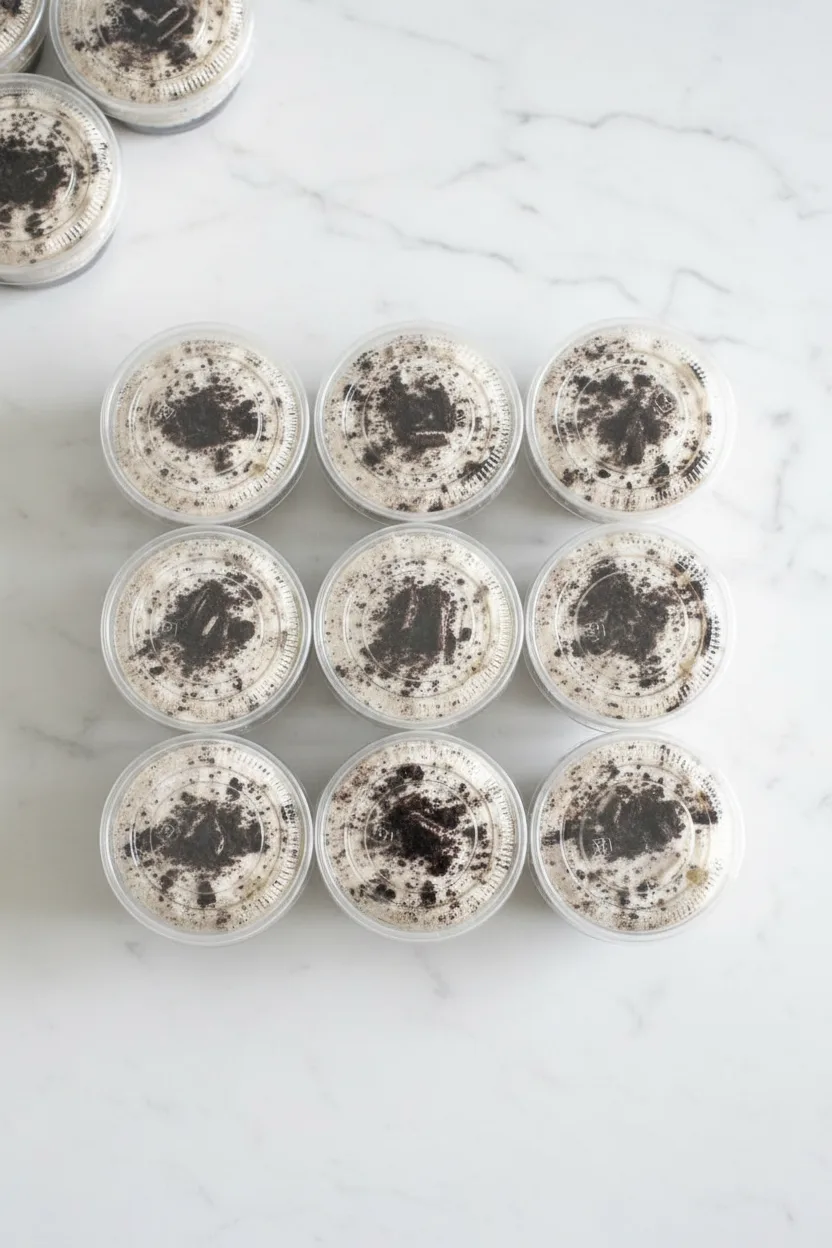
- Seal the cups with a lid and chill in refrigerator
Notes
- Can be served immediately or stored in refrigerator 2-3 days
- Use food processor for even cookie crumbs
- For smoother filling, ensure cream cheese is completely soft
- Prep Time: 30 min
- Category: Main Course
- Method: Baked
- Cuisine: American
Ingredients and Substitutions
Base Components
- 2 cups crushed chocolate sandwich cookies (180 g)
- ¼ cup butter, melted (57 g)
Creamy Filling
- 8 oz cream cheese, room temperature (226 g)
- ¾ cup granulated sugar (150 g)
- 2 tsp vanilla extract
- 1 ½ cups heavy cream (355 ml)
- ½ cup crushed chocolate sandwich cookies (45 g)
Toppings
- 28 mini chocolate sandwich cookies
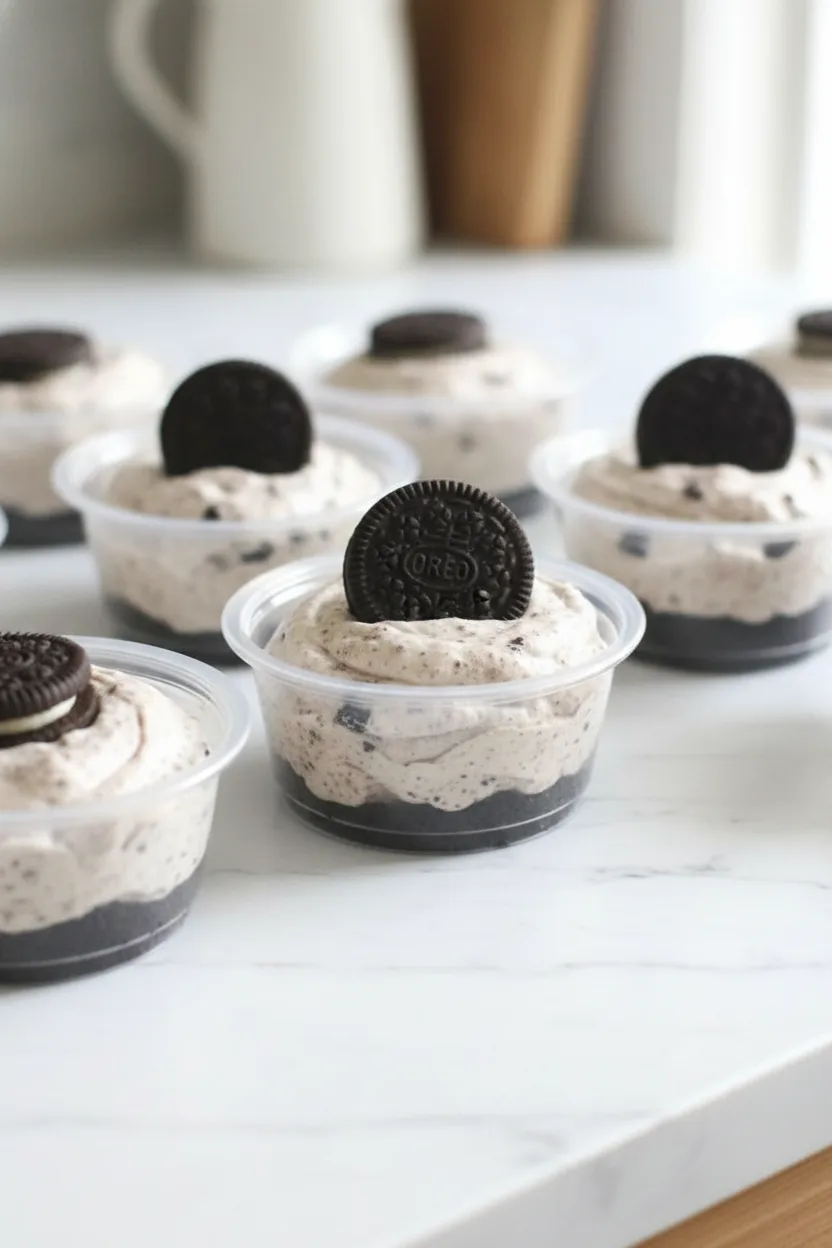
How to Make Cookies and Cream Dessert Cups
Step 1: Prepare the Crust
Combine crushed chocolate sandwich cookies with melted butter in a small bowl. Mix until all crumbs are evenly coated. Portion about 1 tablespoon of the mixture into each 2-ounce plastic cup. Press down firmly using another cup or spoon to create a compact base.
Step 2: Make the Filling
Using an electric mixer, beat cream cheese and sugar until completely smooth and creamy. Add vanilla extract and heavy cream. Continue whipping until the mixture thickens and forms soft peaks. Gently fold in additional crushed cookies to create delightful texture pockets throughout the filling.
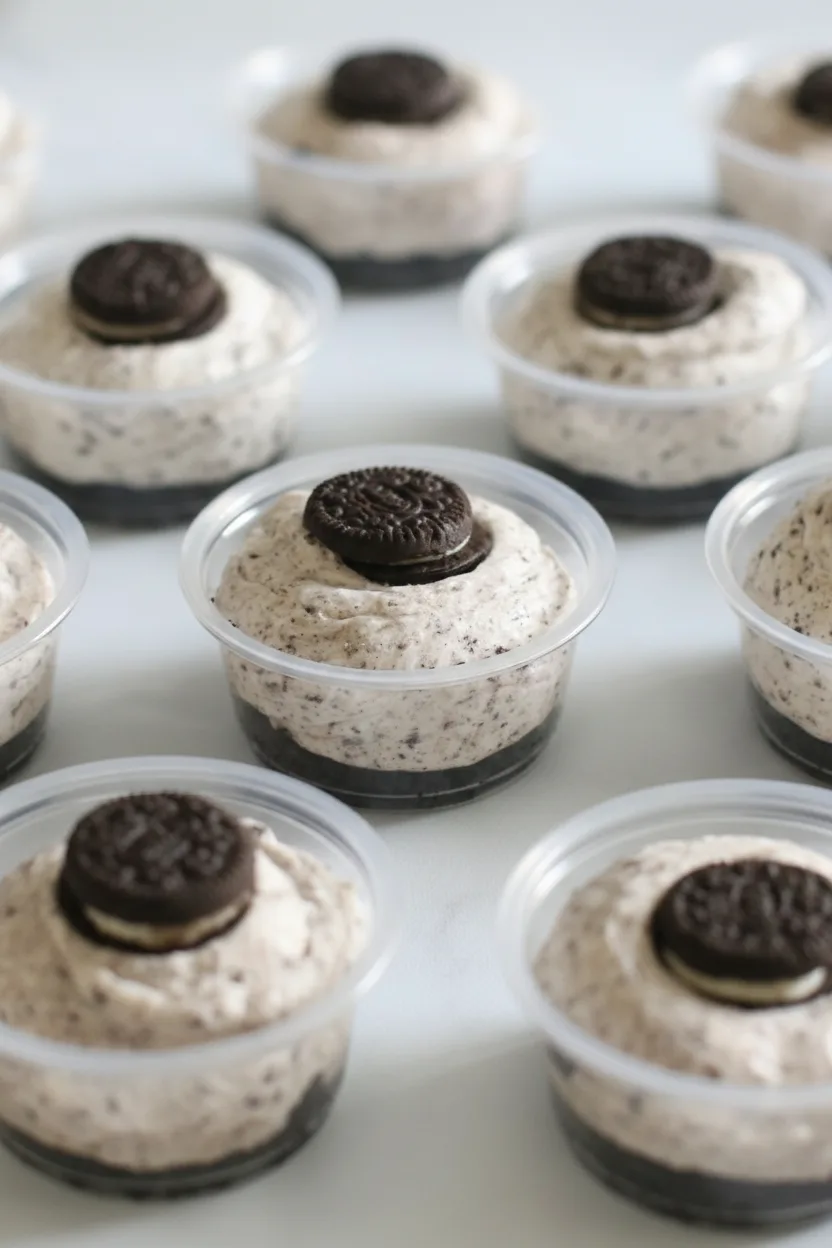
Step 3: Assemble the Cups
Transfer the filling into a piping bag or plastic storage bag with corner snipped. Pipe the creamy mixture into each cup, filling about three-quarters full. Top each dessert with a mini chocolate sandwich cookie. Cover cups tightly and refrigerate at least one hour before serving.
Pro Tips for Success
Chill your mixing bowl and beaters before whipping the cream for better volume. Additionally, bring cream cheese to room temperature for smoother blending. If you’re making these for a special occasion, consider doubling the recipe – they disappear faster than you’d expect!
Flavor Variations
Transform these cups by mixing in caramel swirls or peanut butter chips. For mint lovers, add peppermint extract instead of vanilla.
You could also create strawberry versions by folding in freeze-dried berry powder. If you enjoy warm desserts, try our comforting broccoli cheese soup as an savory counterpart to these sweet treats.
Serving Suggestions
Serve these cups chilled alongside fresh berries or fruit salad. The creamy richness pairs wonderfully with tart citrus flavors.
For gatherings, arrange them on tiered stands for beautiful presentation. These would also complement hearty soups like our delicious chicken pot pie soup at fall gatherings or winter parties.
Storage and Freezing Instructions
Store assembled cups in airtight containers in the refrigerator for up to three days. For longer storage, freeze without toppings in freezer-safe containers up to two months.
Thaw overnight in refrigerator before adding cookie garnish and serving. Unused filling can be frozen separately for quick assembly later.
FAQs About Cookie Dessert Cups
Can I Use Different Cookies?
Absolutely! Try graham crackers, vanilla wafers, or shortbread cookies. For chocolate lovers, double-stuffed versions work wonderfully. During holidays, seasonal cookies create fun themed treats.
Can I Make These Gluten-Free?
Simply substitute your favorite gluten-free chocolate sandwich cookies. The recipe works equally well with alternative versions, though you may need to adjust butter quantity slightly depending on crumb texture.
How Far in Advance Can I Prepare These?
The crust maintains its texture best when assembled the same day, though you can prep components separately up to two days ahead. Store bases covered at room temperature and filling refrigerated. When planning meals, consider pairing with time-saving dishes like our nourishing instant pot rice soup.
Final Thoughts
These cookie dessert cups deliver maximum satisfaction with minimal effort. Their personalized portions make them ideal for sharing, while the creamy-crunchy combination keeps everyone coming back for more.
Whether you’re hosting a party or simply craving something sweet, this versatile recipe will become your go-to dessert solution.