Welcome to a journey of pure, unadulterated dessert bliss. Today, we’re diving into the world of these irresistible Peanut Butter Cheesecake Bars, a recipe that masterfully combines the nostalgic comfort of peanut butter with the luxurious, creamy texture of classic cheesecake. Perfect for potlucks, family gatherings, or a special treat at home, these bars are surprisingly straightforward to make, delivering maximum impact with every decadent bite.
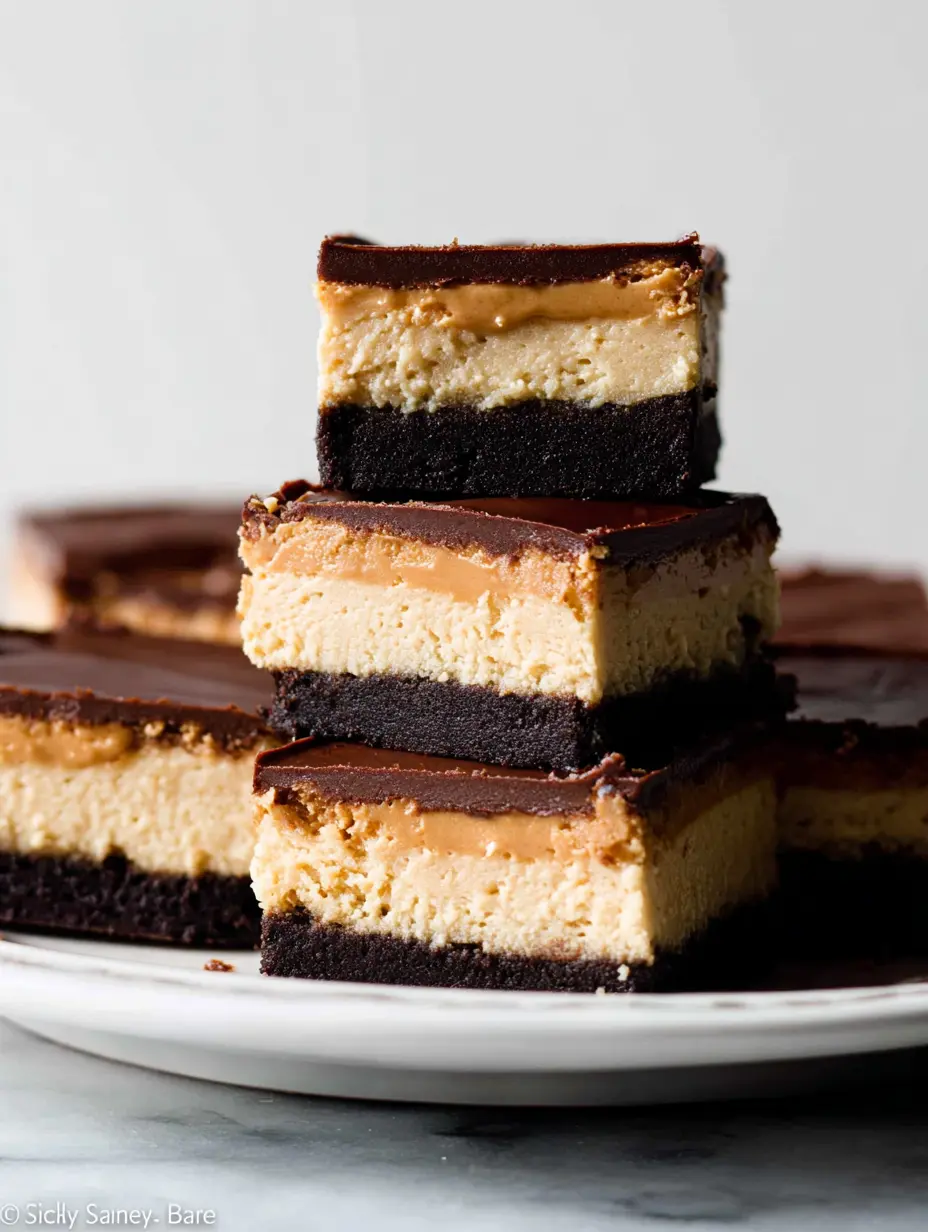
Their three distinct layers a rich Oreo cookie crust, a velvety peanut butter-infused cheesecake filling, and a glossy chocolate ganache topping create a symphony of flavors and textures that is simply unforgettable. We’ll guide you through each step with clear instructions and pro tips to ensure success.
Why You’ll Fall in Love With These Dessert Bars
These bars are the epitome of a crowd-pleasing dessert. They offer the familiar, beloved flavor of peanut butter in a form that’s both elegant and easy to serve. Unlike a full cheesecake that requires careful unmolding, these bars are baked in a simple pan, chilled, and sliced into perfect squares. This makes them incredibly portable and fuss-free.
The use of full-fat cream cheese and creamy peanut butter (not the natural, oily kind) ensures a dense, smooth filling that sets beautifully without cracking. The chocolate topping adds a final layer of richness that perfectly balances the sweet and slightly salty notes of the peanut butter. It’s a dessert that feels special yet approachable.
Understanding the Key Ingredients
Using the right ingredients is crucial for achieving the perfect texture and flavor. Let’s break down the stars of the show:
- Full-Fat Cream Cheese: This is non-negotiable for a rich, creamy, and stable cheesecake filling. Low-fat varieties contain more water and can lead to a runny texture.
- Creamy Peanut Butter: Opt for a standard, homogenized creamy peanut butter. Natural peanut butter, which separates, can introduce unwanted oil and alter the consistency of your filling.
- Room Temperature Ingredients: This step cannot be overstated. Bringing your cream cheese, eggs, and sour cream to room temperature before mixing is the single best way to prevent a lumpy batter and ensure everything incorporates smoothly.
- Oreo Cookie Crust: The classic chocolate cookie provides a sturdy, flavorful base that complements the peanut butter perfectly. Using the whole cookie, cream filling and all, adds sweetness and helps bind the crust.
Step-by-Step Guide to Perfect Peanut Butter Cheesecake Bars
Follow these detailed instructions for a flawless result every time. Patience during the chilling steps is your secret weapon for the perfect slice.
Preparing the Pan and Oreo Crust
Begin by preheating your oven to 350°F (177°C). Line a 9×13-inch baking pan with parchment paper, leaving an overhang on all sides. This ‘sling’ is essential for lifting the entire slab of bars out of the pan for clean, easy cutting. In a food processor, pulse 30 regular Oreos (filling included) into fine crumbs. You should have about 3 cups.
In a bowl, mix the crumbs with 1/2 cup of melted unsalted butter until thoroughly combined. The mixture will be moist. Press it firmly and evenly into the bottom of your prepared pan. Pre-bake this crust for 10 minutes, then remove it from the oven. It’s fine if the crust is still warm when you add the filling.
Creating the Luxurious Peanut Butter Filling
In a large bowl using a hand mixer or stand mixer with a paddle attachment, beat 24 ounces of softened cream cheese with 1 cup of granulated sugar on medium-high speed until completely smooth and creamy, about 2 minutes. Scrape down the sides of the bowl.
Add 1/4 cup of room temperature sour cream and beat until combined. Next, add 1 cup of creamy peanut butter, 1 teaspoon of pure vanilla extract, and 1/8 teaspoon of salt. Beat until the mixture is uniform.
With the mixer on medium-low speed, add 3 large room-temperature eggs, one at a time, beating just until each egg is incorporated before adding the next. Stop mixing as soon as the last egg is blended.
Do not overmix. A few small lumps are okay. Give the batter a final few folds by hand with a spatula to ensure no heavy streaks remain at the bottom.
Baking and the Essential Chill
Pour the cheesecake filling over the pre-baked crust and spread it into an even layer. Bake for 35-38 minutes. The edges will be lightly browned and the top will look set, though it may puff slightly and the edges might develop small cracks—this is normal. The center should still have a slight jiggle. The bars will deflate and set as they cool. Place the pan on a wire rack and let the bars cool completely at room temperature for at least 1 hour.
Then, transfer them to the refrigerator to chill thoroughly for a minimum of 3-4 hours, or ideally overnight. This step is critical for the cheesecake to firm up properly. If you’re short on time, you can place the pan in the freezer for about 2 hours.
Finishing with a Simple Chocolate Ganache
Once the bars are completely chilled, prepare the chocolate topping. Place 1 heaping cup of semi-sweet chocolate chips and 1/2 cup of unsalted butter (cut into pieces) in a microwave-safe bowl. Heat in 30-second bursts, stirring well after each, until completely melted and smooth. You can also do this in a double boiler on the stove. Let the ganache cool for 2-3 minutes, then pour it over the chilled cheesecake layer.
Tilt the pan or use an offset spatula to spread it into an even layer. The chilled cheesecake usually creates a slight lip around the edges, which helps contain the chocolate. Return the pan to the refrigerator for 45-60 minutes (or the freezer for 30 minutes) to set the chocolate completely.
Slicing and Storing Your Masterpiece
Use the parchment paper overhang to lift the entire block of bars out of the pan and onto a cutting board. For impeccably clean cuts, use a large, sharp knife. Wipe the blade clean with a warm, damp cloth between each slice. This prevents the chocolate and filling from smearing.
Serve immediately or store covered in the refrigerator for up to 1 week. For longer storage, you can wrap individual bars tightly and freeze them for up to 3 months. Thaw in the refrigerator before serving.
Nutrition Information for Peanut Butter Cheesecake Bars
As with any indulgent dessert, these bars are a treat best enjoyed in moderation. The following table provides an approximate nutritional breakdown per serving, based on 24 equal-sized bars. Actual values may vary slightly based on specific ingredient brands.
| Nutrient | Amount Per Serving |
|---|---|
| Calories | Approx. 380 kcal |
| Total Fat | 28g |
| Saturated Fat | 14g |
| Unsaturated Fat | 11g |
| Cholesterol | 75mg |
| Sodium | 220mg |
| Total Carbohydrates | 30g |
| Dietary Fiber | 2g |
| Sugars | 23g |
| Protein | 7g |
Pro Tips and Creative Variations
To make these bars uniquely yours, consider these fun twists:
- For a Crunchy Surprise: Fold 1/2 cup of chopped honey-roasted peanuts into the cheesecake batter before pouring it over the crust.
- Chocolate Swirl: Before baking, dollop 1/4 cup of melted chocolate over the peanut butter filling and use a knife to create a beautiful marble effect.
- Cookie Variation: Substitute the Oreo crust with a graham cracker crust for a different flavor profile. Use 2 1/2 cups of graham cracker crumbs mixed with the same amount of melted butter.
- Topping Ideas: Instead of a full chocolate topping, drizzle melted chocolate in a zig-zag pattern and sprinkle with flaky sea salt for a gourmet touch.
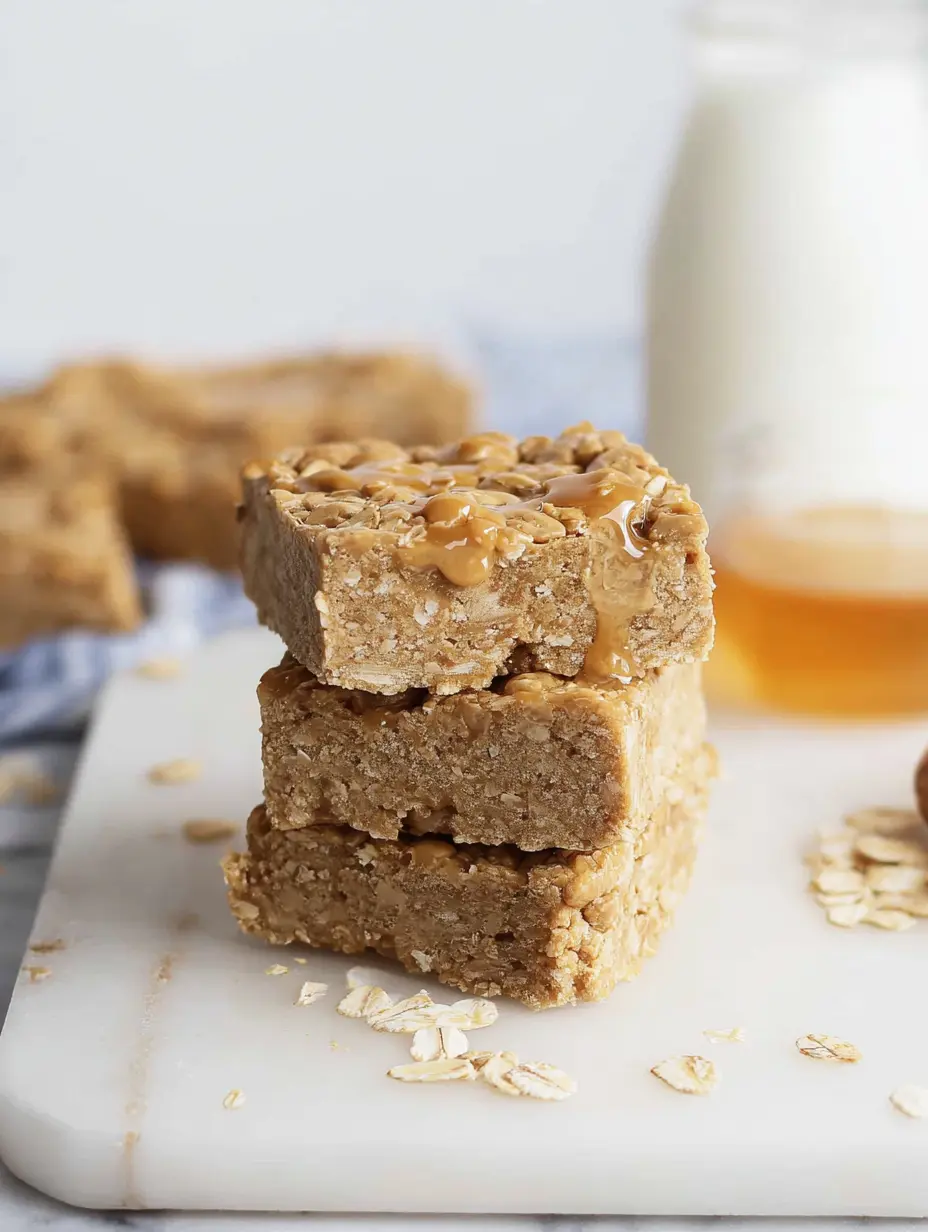
If you love the combination of peanut butter and chocolate in bar form, you must try our classic Lunch Lady Peanut Butter Bars for a more casual, oatmeal-based treat. For a lighter, bite-sized option that’s perfect for snacks, our Peanut Butter Yogurt Bites are a fantastic choice. And if pure chocolate decadence is what you crave, our Gooey Chocolate Brownie Cake is an absolute must-bake.
Frequently Asked Questions
Can I use natural peanut butter?
It’s not recommended for this recipe. Natural peanut butter tends to separate and is often more oily, which can prevent the cheesecake filling from setting properly and lead to a greasy texture. Stick with a standard, stabilized creamy peanut butter for the best results.
Why did my cheesecake filling crack?
Cracking is often caused by overmixing the batter (which incorporates too much air), overbaking, or a rapid temperature change. Following the recipe closely—mixing just until combined, baking until just set with a slight jiggle in the center, and allowing the bars to cool gradually at room temperature before chilling—will minimize this.
Small edge cracks are normal and will be covered by the chocolate topping.
Can I make these bars ahead of time?
Absolutely! In fact, they taste even better the next day after the flavors have fully melded. You can prepare and bake the bars (without the chocolate topping) up to two days in advance. Keep them covered in the refrigerator. Add the chocolate ganache topping on the day you plan to serve them for the best texture and appearance.
There you have it your complete guide to creating these spectacular Peanut Butter Cheesecake Bars. With their unbeatable combination of creamy, rich, and chocolatey elements, they are destined to become a staple in your dessert repertoire. Happy baking!
Recipe
Print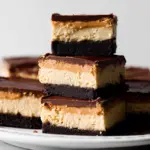
Peanut Butter Cheesecake Bars
- Total Time: 6 hr 5 min
- Yield: 24 servings 1x
Description
Decadent three-layer dessert bars with an Oreo cookie crust, creamy peanut butter cheesecake filling, and a smooth chocolate ganache topping.
Ingredients
30 regular Oreos
1/2 cup (8 Tbsp; 113g) unsalted butter, melted
24 ounces (678g) full-fat brick cream cheese, softened to room temperature
1 cup (200g) granulated sugar
1/4 cup (60g) sour cream, at room temperature
1 cup (250g) creamy peanut butter (not natural style)
1 teaspoon pure vanilla extract
1/8 teaspoon salt
3 large eggs, at room temperature
1/2 cup (8 Tbsp; 113g) unsalted butter
1 heaping cup (around 200g) semi-sweet chocolate chips
Instructions
- Preheat oven to 350°F (177°C). Line a 9×13-inch pan with parchment paper.
- Pulse Oreos into crumbs. Mix with melted butter and press firmly into pan. Pre-bake for 10 minutes.
- Beat cream cheese and sugar until smooth. Add sour cream, peanut butter, vanilla, and salt. Beat until combined.
- Add eggs one at a time, mixing just until incorporated. Pour filling over crust.
- Bake for 35-38 minutes until set. Cool for 1 hour at room temp, then chill for 3-4 hours minimum.
- Melt chocolate chips and butter together. Cool slightly, then spread over chilled bars.
- Chill again for 45-60 minutes until chocolate is set. Lift from pan and slice into squares.
Notes
- Use full-fat cream cheese and standard creamy peanut butter (not natural) for best texture.
- Ensure all dairy and eggs are at room temperature to avoid a lumpy batter.
- Do not overmix the batter after adding the eggs to prevent cracking.
- Chilling is mandatory for clean slices. The bars can be made a day ahead.
- For clean cuts, wipe the knife with a warm, damp cloth between slices.
- Prep Time: 30 min
- Cook Time: 38 min
- Category: Main Course
- Method: Baked
- Cuisine: American
Nutrition
- Serving Size: 1 bar
- Calories: 380
- Sugar: 23g
- Sodium: 220mg
- Fat: 28g
- Saturated Fat: 14g
- Unsaturated Fat: 11g
- Trans Fat: 0g
- Carbohydrates: 30g
- Fiber: 2g
- Protein: 7g
- Cholesterol: 75mg